 Configuring Trigger Wait Time Policy

Trigger Wait Time Policy enables the user to delay the ticketing for a customized period called" wait time".
Generally, ticket creation in AIOps happens as soon as a ticket alert is correlated into an alert cluster. Trigger wait time policy allows the ticketing of a cluster after the specified period. During the 'wait time' period the alert cluster will be in ‘queued for ticketing’ state. While the alert cluster is in ‘queued for ticketing state’, you have the option to create a ticket immediately before the wait time is completed. You can also resolve the alert cluster and avoid ticket creation.
To define a new Trigger Wait Time Policy,
- Select Configuration tab in AIOps
- Select Trigger Wait Time Policy on the left pane by expanding Ticketing.
Ticket Trigger Wait Time Policy screen will appear.
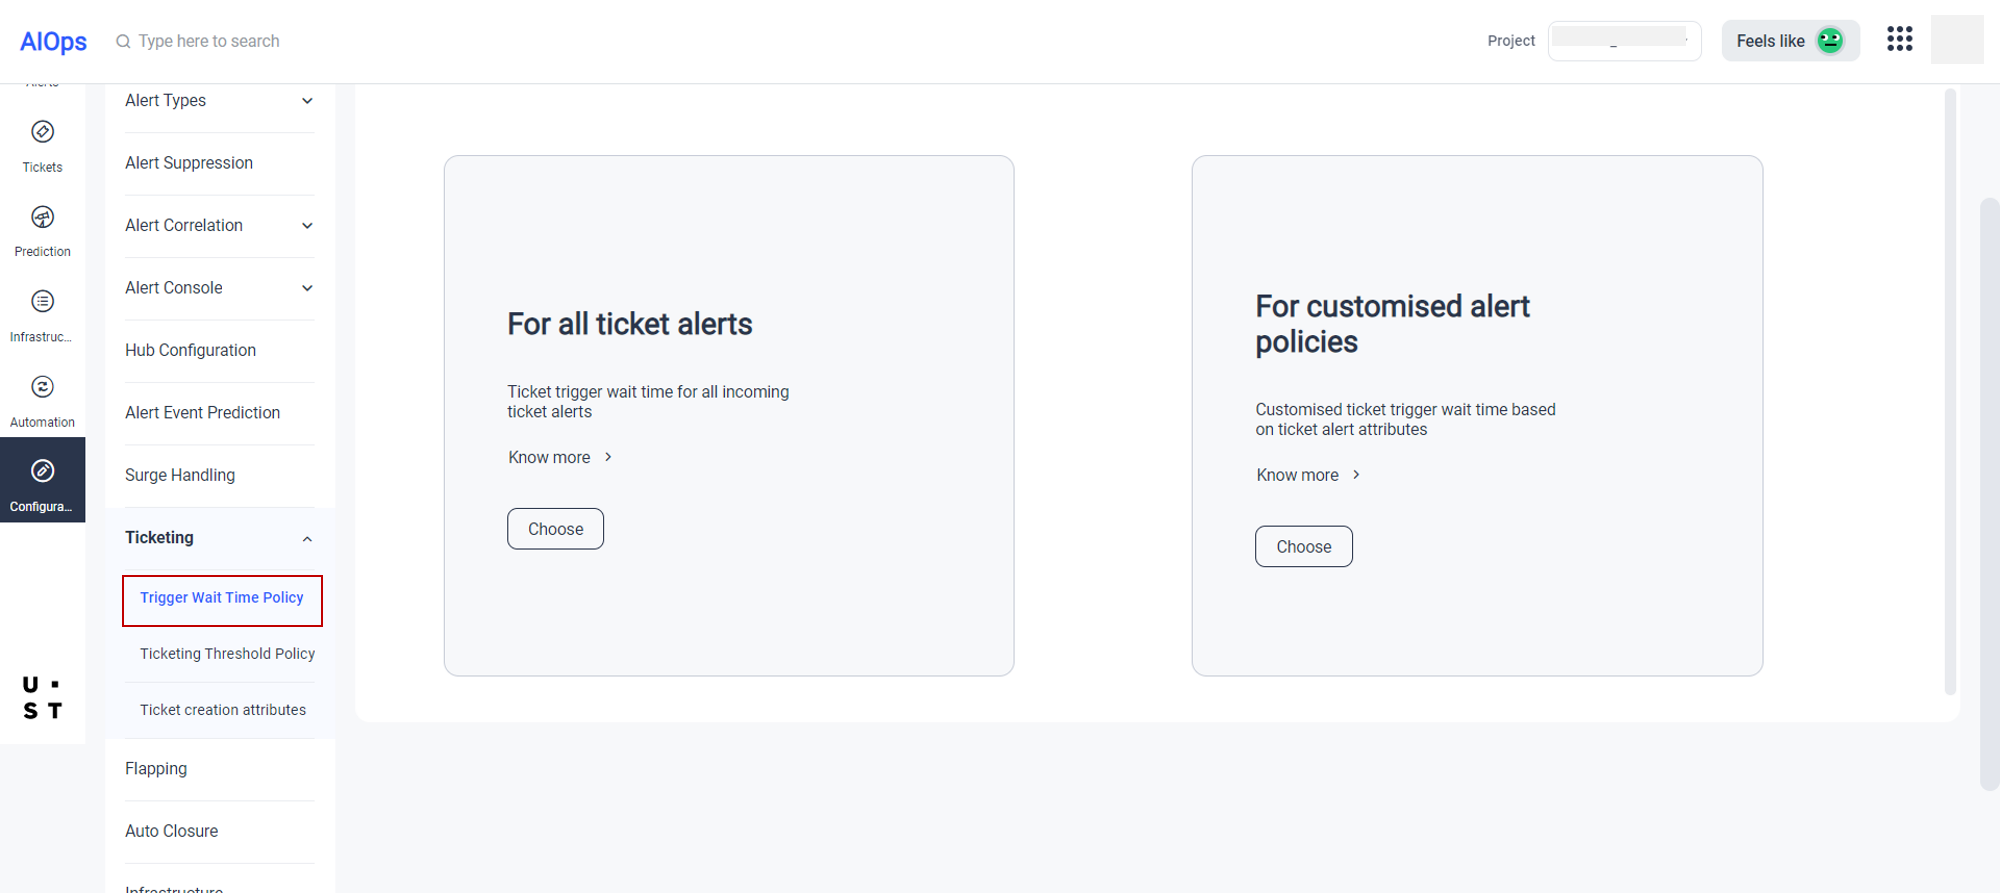
From this screen user can select the option to create the policy either for all ticket alerts or for customized alert policies.
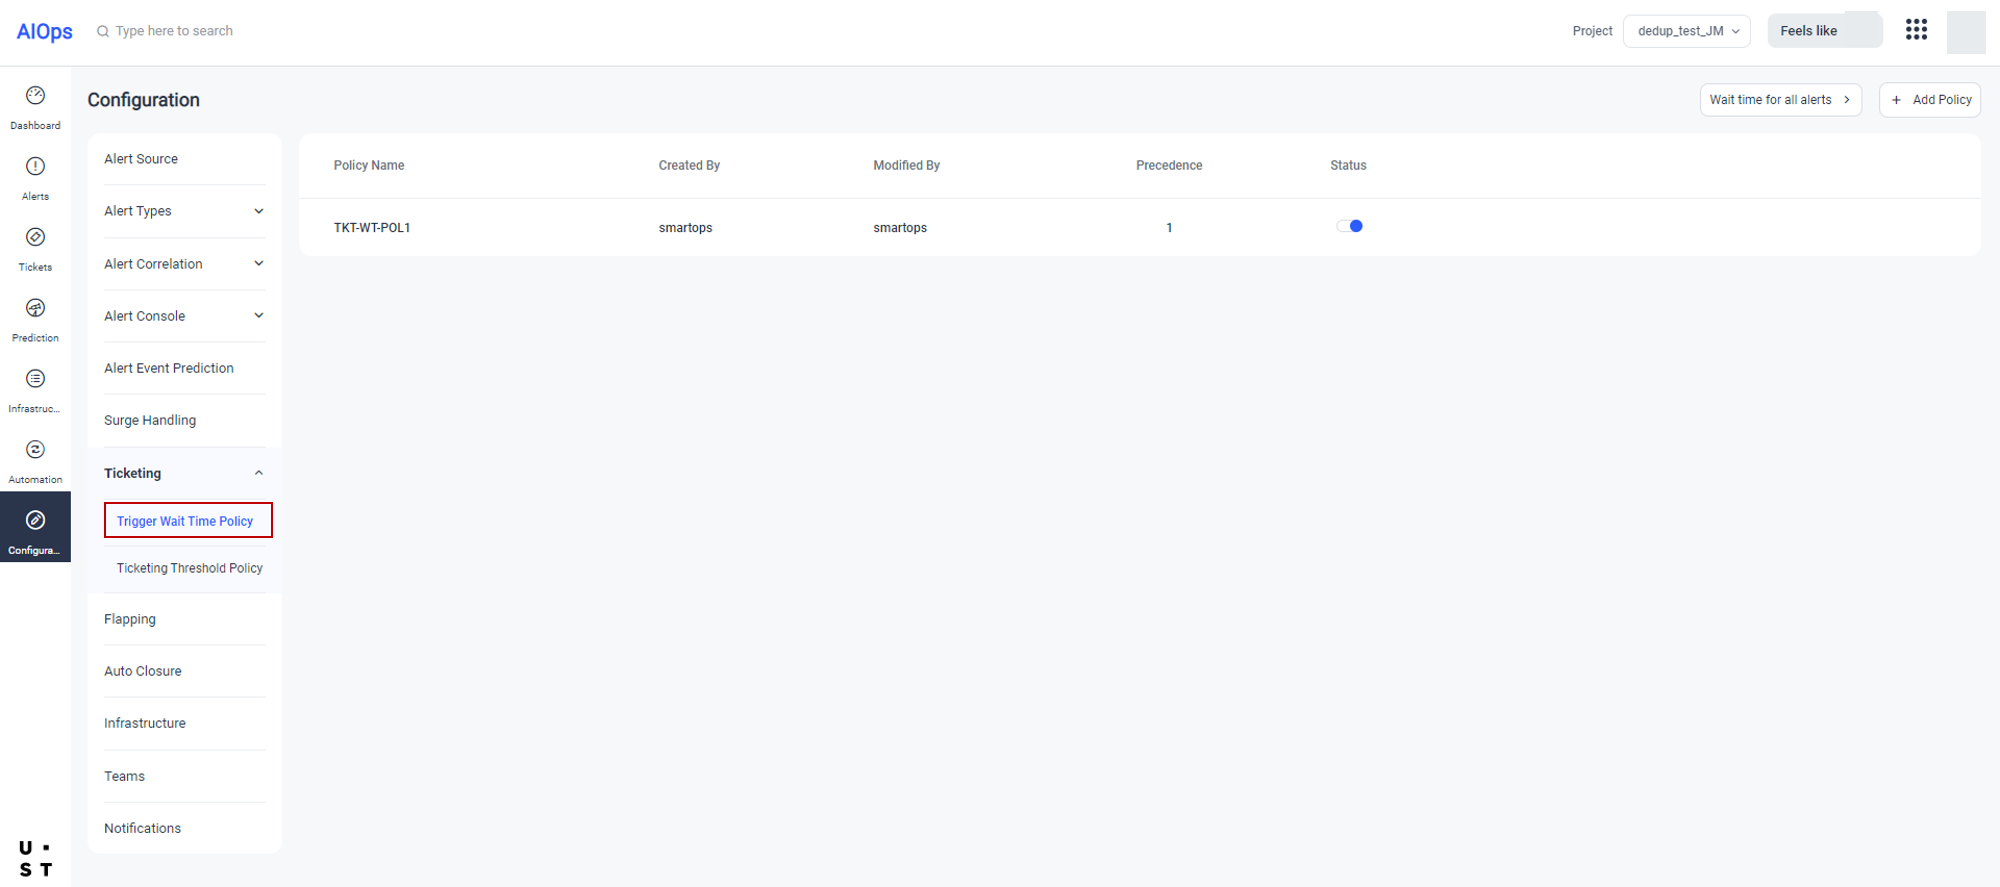
On selecting Trigger Wait Time Policy on the left pane under Policies, if any policy has been configured, the policy screen will appear displaying all the configured policies.
Setting trigger wait time for customized alert policies
To add a new policy, click on  . Add Policy screen will appear as shown below.

User can define the Policy Details as explained below:
|
Field Name |
Description |
|
Policy Name |
This field allows you to enter the Policy Name. Policy name should be unique. If you enter a name which was used earlier, it will show an error message on saving. |
|
Precedence |
Precedence field allows you to set priority to the policies that you are adding. |
|
Attribute |
This field allows you to select the attribute that is to be mapped to the value field. You can select any of the available attributes from the dropdown. You can add multiple attributes against a single policy name by clicking the |
|
Operator |
This field allows you to select the 0perator for mapping the selected attribute with value. |
|
Value |
This field allows you to either enter or select the value based on the attribute selected. |

Click on Save Policy Details button. Save Policy Details pop up will appear.
On selecting Save and Exit option from the popup, the created policy will get saved and listed in the Policy listing screen. You can edit the policy from that screen later.
Click on Save and Continue button. Set Rules option will get enabled. You can set specific rules from this screen to further refine the corresponding policy.
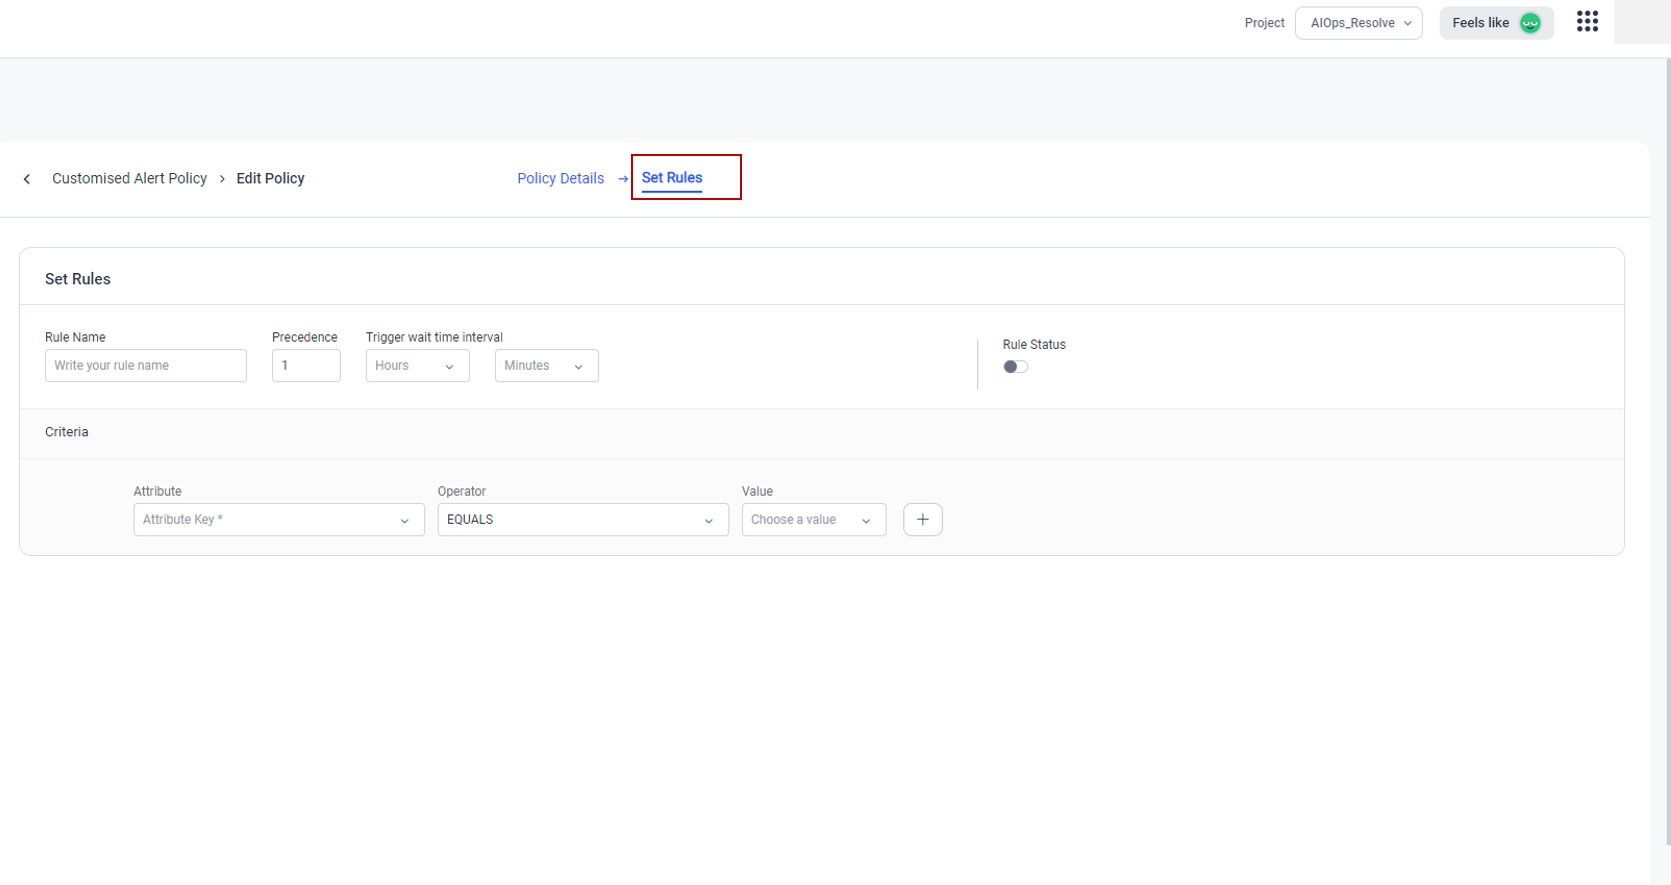
User can define rules as explained below:
|
Field Name |
Description |
|
Rule Name |
This field allows you to enter the Rule Name. Duplication of Rule Name within a policy will show an error message. |
|
Precedence |
Precedence field allows you to set priority to the created rules. Precedence will be given automatically to the rules on the chronological order of their creation. |
| Trigger wait time interval |
This field allows you to set the Trigger wait time interval. |
|
Rule Status |
This option allows the user to enable or disable the created rule. |
|
Attribute |
Attribute that is to be mapped against the created policy. You can select the attribute from the available list. Multiple attributes can be mapped against a single policy by clicking the |
|
Operator |
This field allows you to select the Operator for mapping the selected attribute with value. |
|
Value |
This field allows you to either enter or select the value based on the attribute selected. |

User can edit/delete any created rule by selecting the corresponding edit/delete option. User can activate or disable the rule with the Rule Status toggle button. Click on Save Rules button, the policy will get reflected on the Policy listing screen. Once all the rule settings are done, user can activate the policy by selecting the Status option from the Policy listing screen.
To activate a policy, at least one rule has to be activated. Otherwise an error message will be displayed.
Setting trigger wait time for all alerts
Select Wait time policy for all alerts option from the policy listing screen.
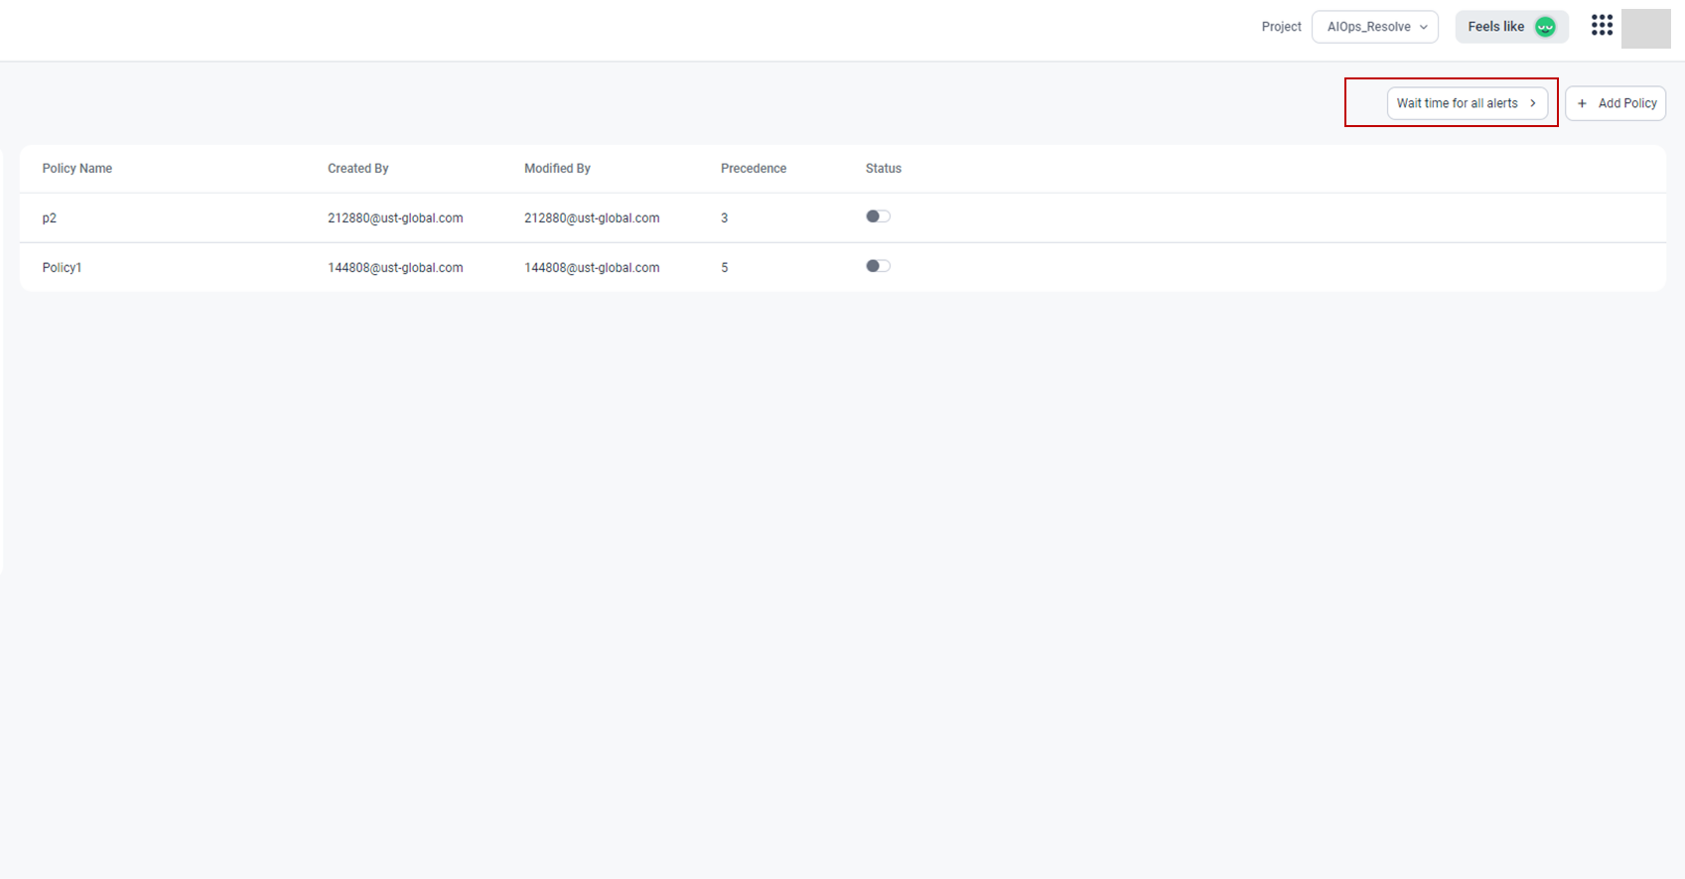
Trigger Wait Time Policy screen will appear where you can define wait time for all alerts.
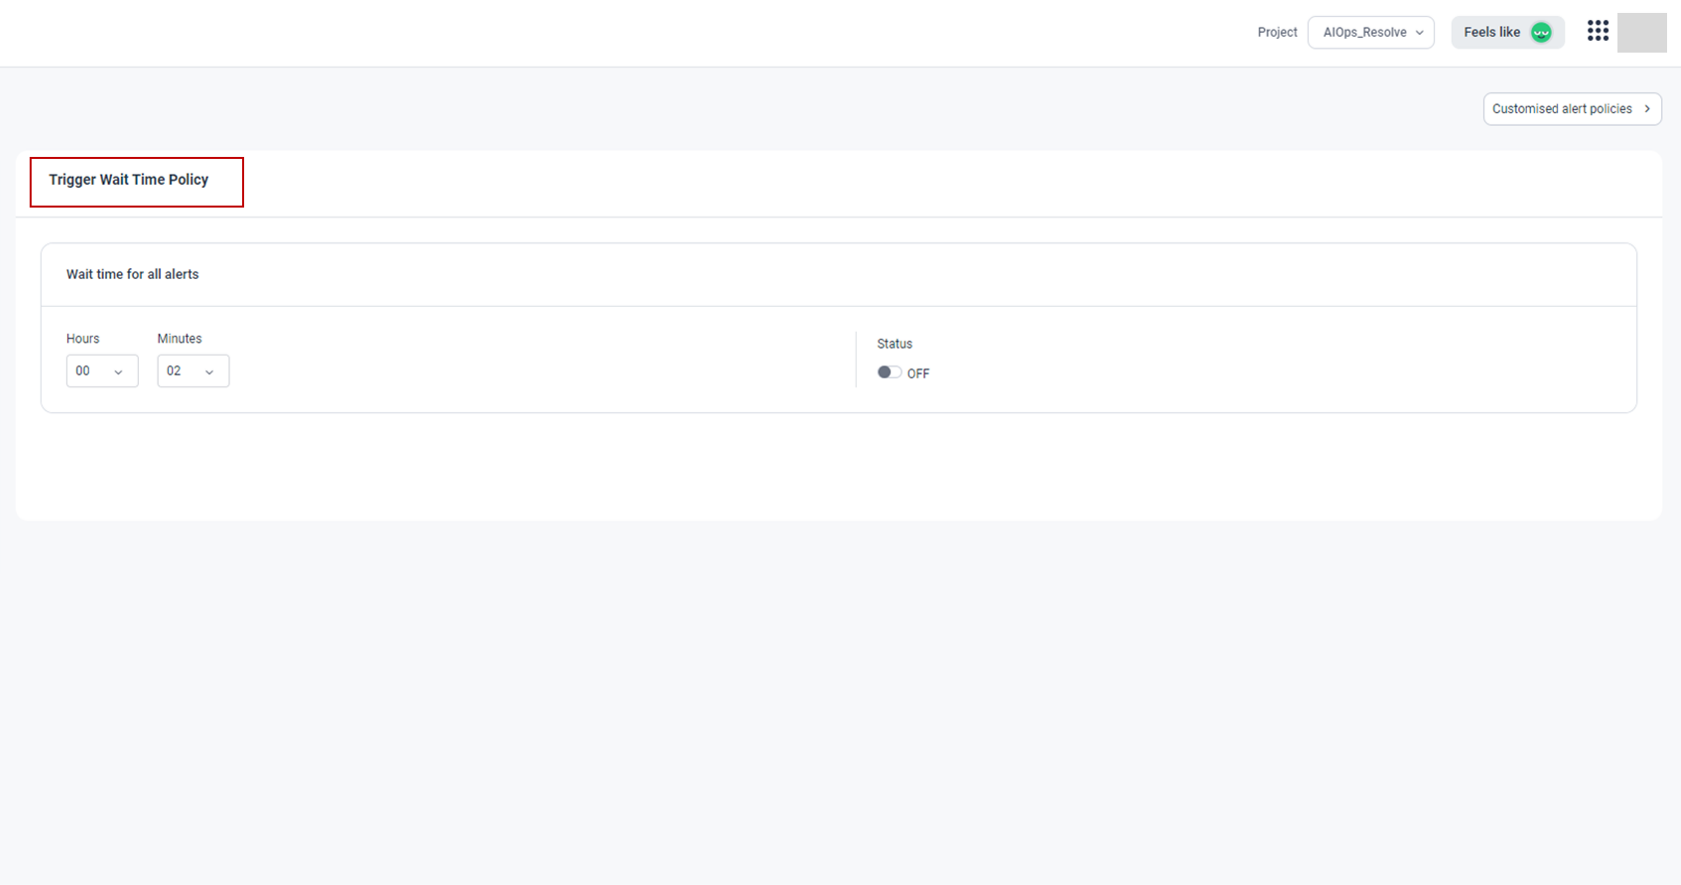
Enter the wait time and enable the status to apply for all alerts.
Copyright © 2025 UST . All Rights Reserved.